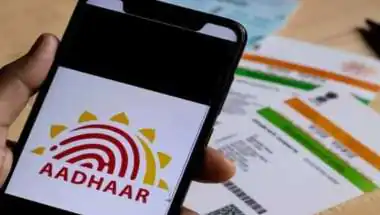
While many users attempt to correct their DOB through the official portal, it is common for these update requests to face rejection. If you are struggling with a rejected application, here is a comprehensive guide to resolving the issue.
Understanding the cause of rejection is the first step toward a successful update. The system typically flags requests due to the following discrepancies:
1. Document Inconsistency
The most frequent cause is a mismatch between the data entered in the online form and the information present on the uploaded supporting document.
2. Poor Document Quality
If the uploaded scan is blurry, cropped, or unreadable, the UIDAI verification team will automatically reject the request. Ensure the file is clear and all edges of the document are visible.
3. Selection of Incorrect Category
Users often select the wrong update category or upload a document that is not on the UIDAI’s approved list for DOB proof.
Solutions for Rejected DOB Update Requests
If your online attempt fails repeatedly, UIDAI provides specialized support channels to help citizens rectify their records.
Contact the UIDAI Helpline
You can dial the toll-free number 1947 to speak with a representative. Provide them with your Update Request Number (URN) to understand the specific reason for the rejection.
Support via Email
You can send a detailed explanation of your problem to help@uidai.gov.in. When emailing, keep these points in mind:
Mention your full name and Aadhaar number (or Masked Aadhaar for security).
Attach clear scans of your valid supporting documents.
Briefly describe the previous rejection and the correct data to be updated.
Step-by-Step Guide to Updating Your DOB Online
To ensure your next request is successful, follow this streamlined process on the official UIDAI portal:
Step 1: Portal Access and Authentication
Visit the official UIDAI website and navigate to the “My Aadhaar” section. Select “Update Your Aadhaar” and enter your 12-digit Aadhaar number. Complete the Captcha verification and enter the OTP sent to your registered mobile number to log in.
Step 2: Selecting the Data Field
Once logged in, click on “Update Aadhaar Online.” From the list of attributes, select Date of Birth (DOB). Enter the correct date precisely as it appears on your legal documents.
Step 3: Document Upload and Fee Payment
Upload a digital copy of a valid document. Acceptable proofs include:
Payment of Processing Fee
After uploading, you must pay a nominal service fee of ₹50. This can be done via UPI, Debit/Credit Card, or Net Banking. Once the payment is successful, you will receive a URN to track the status of your update.